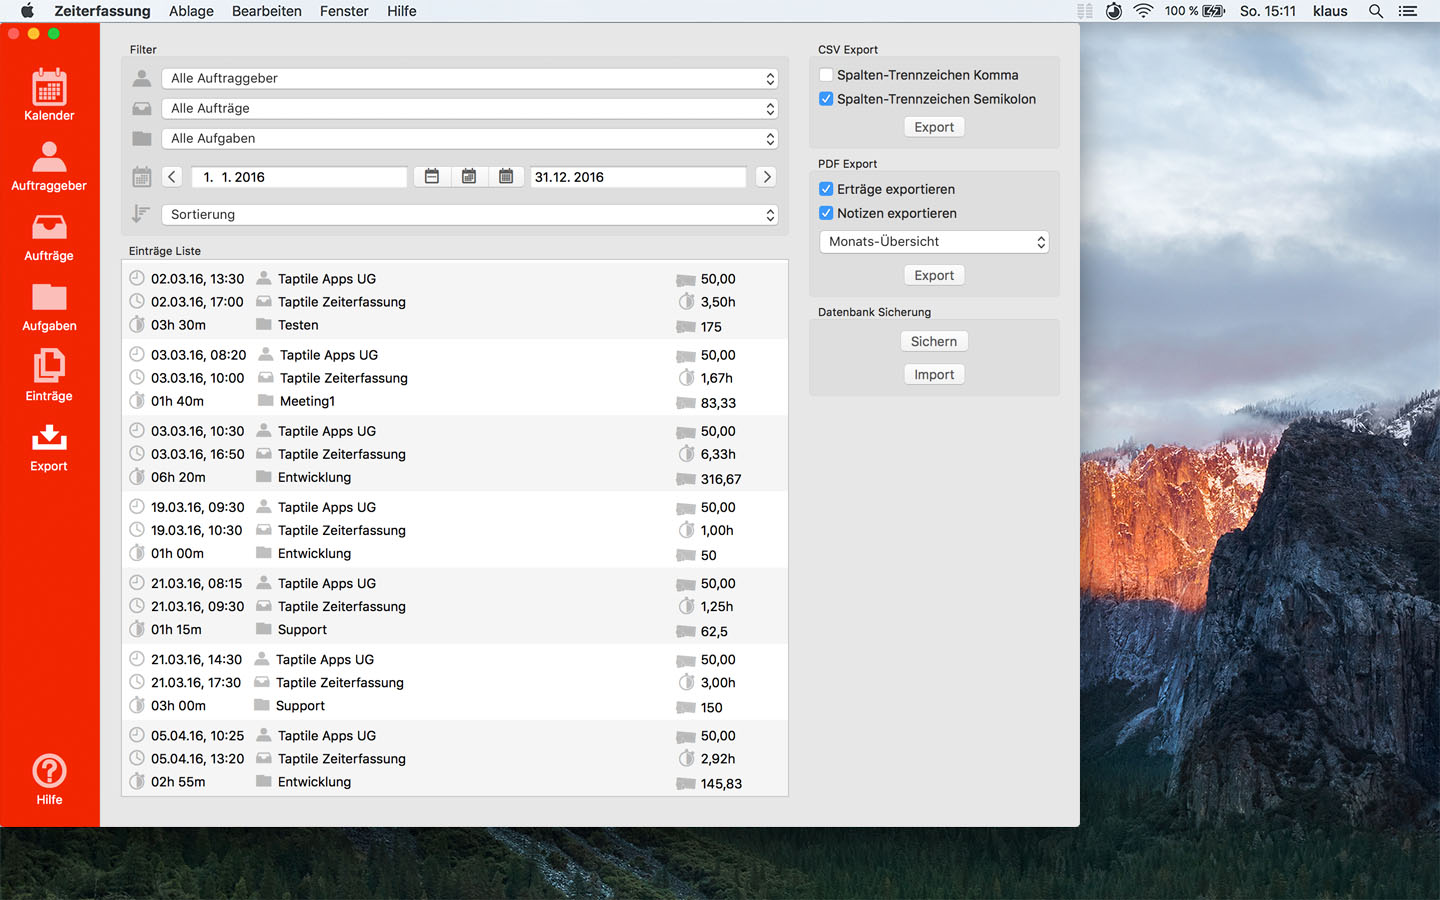
8. Export
Records to be exported
On the left side you see the records list with the records that will be exported.
Filtering and sorting
With the filter selection above the records list, you can filter the list and influence which records will be exported.
For example, filter the exported records to a job.
A temporal restriction is also possible, so that for example, only the records of the last month will be exported.
CSV export
On the right you can start a CSV export.
You can still change the column separator between comma and semicolon. This is useful when importing into an app that expects a particular delimiter.
With the export button the file is created and you can save it to your hard drive.
PDF export
Under the CSV you will find the PDF export.
You can select whether notes and revenue are also included.
You must also choose one of the four available layouts, which specify the sorting of the records.
The four layouts are the: Monthly, Clients, Jobs and Tasks overview.
With the export button the file is created and you can save it to your hard drive.
Database backup
To back up your data, we recommend regular database backups.
With this, all your data is written into a file, which you can import again later. So you do not lose any data
if there are problems with your app or the iCloud.
Important to know: Imports always replaces all data!

