1. Help and main screen
Help
When the app is started for the first time, some sample data will be created automatically, we refer to them here.
In our app we have help texts on the elements as rollover (macOS), as well as on most
screens below (iOS) to make it easier for you to get started.
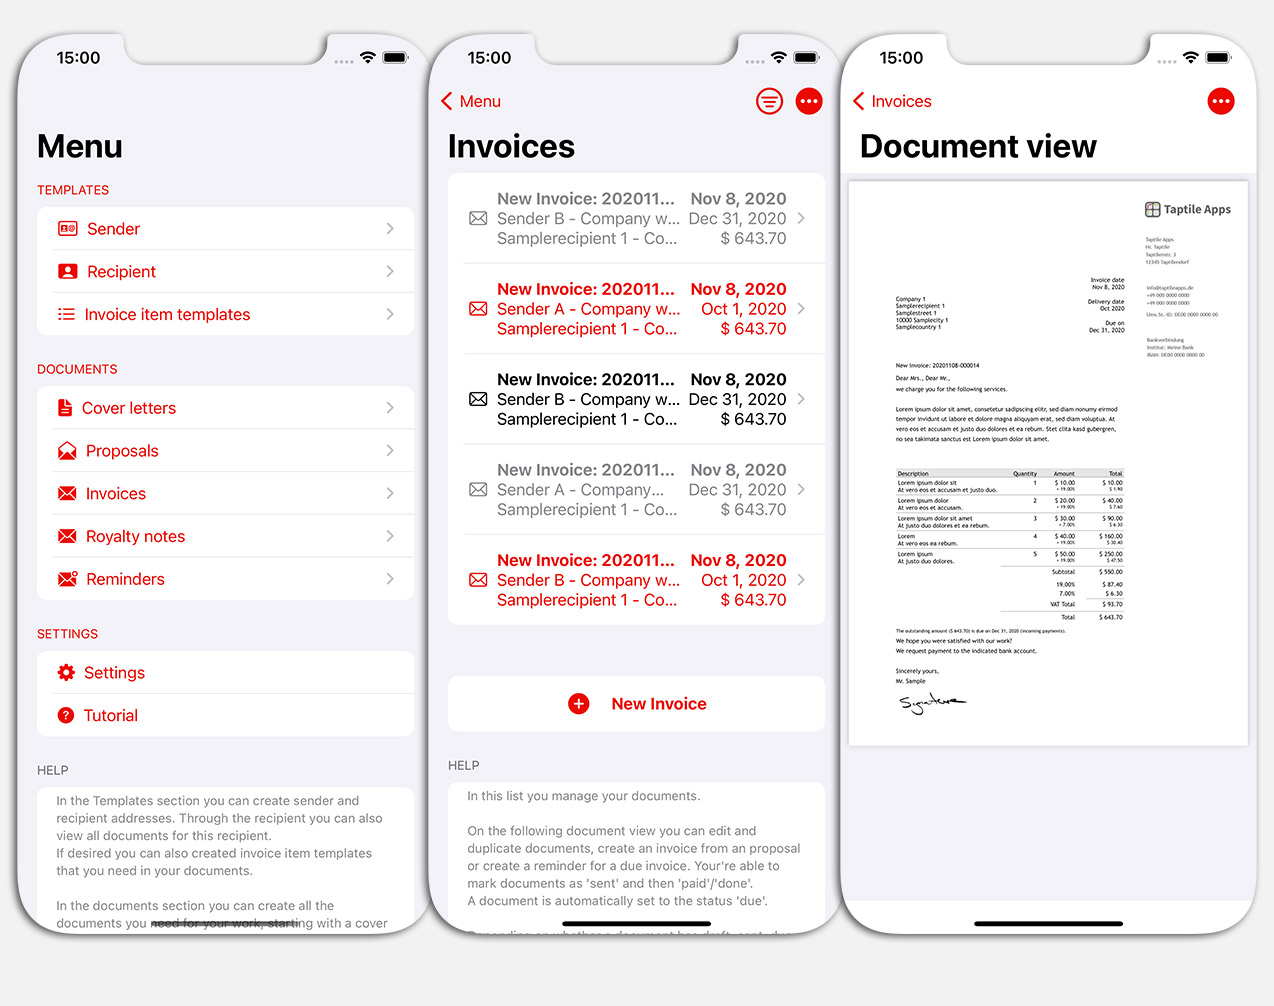
The iOS app starts in the menu (upright on the iPhone) or directly in the invoice list with the menu on the left.
Main screen
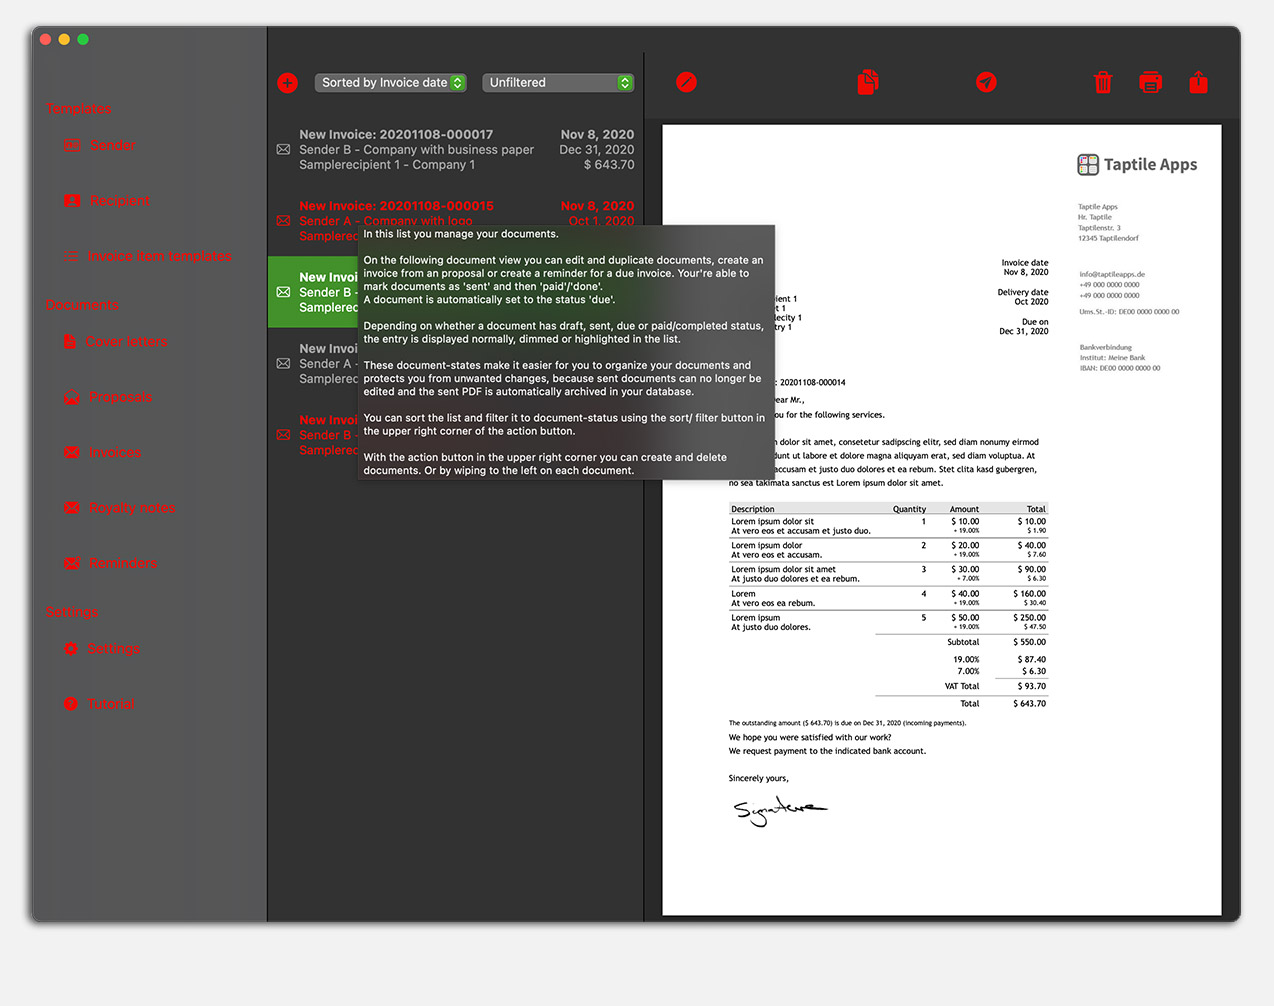
The screen of the app is divided into three areas:
- the menu bar on the left,
- the document list in the middle
- and the document preview view in the right area.
Above the document list and the document preview there is a button bar.
On the iPhone you may have to navigate between the different areas.
In the menu bar you can see the different areas of the app.
Under 'Sender', 'Recipient' and 'Invoice Items' you create the objects that you need in your invoices again and again.
You can also create invoice items individually in each invoice, this here are the invoice item templates.
Below that, your documents are sorted according to the document type 'cover letter', 'offers', 'invoices/ honorary notes' and 'reminders'.
In 'Settings' you will find settings for our app.
With 'Tutorial' you call up this help page.
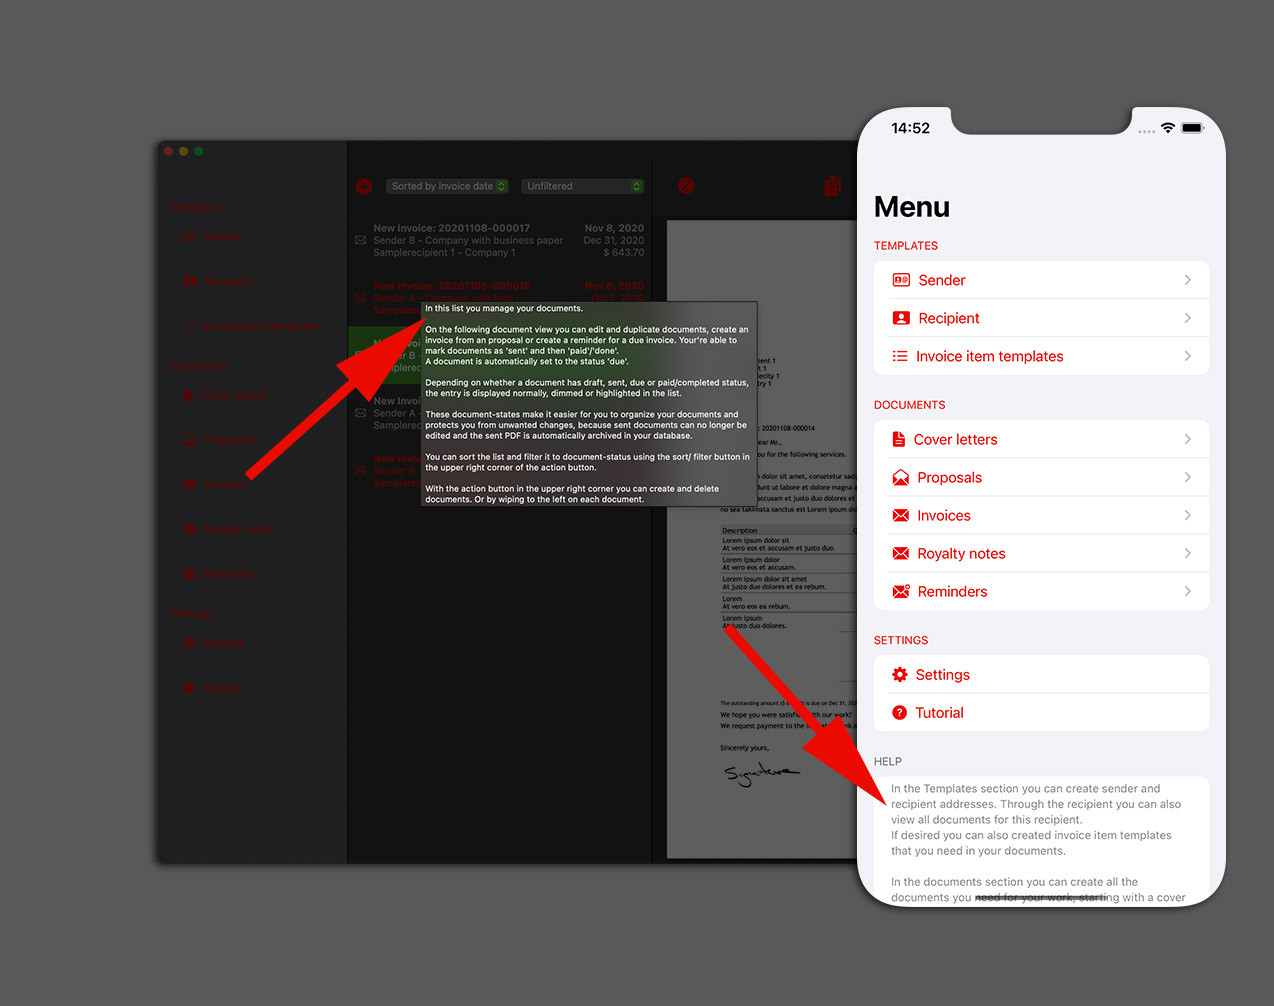
Above the document list there is the option (with the filter selection menus on macOS, or the filter button in the top right-hand corner on iOS) to restrict the display of the document type.
For example, you can only display invoices or reminders that have the selected document status.